Mandy Ninekirk 2/12/26 Mandy Ninekirk 2/12/26 Florida’s Craft Fair’s Read More Mandy Ninekirk 11/21/25 Mandy Ninekirk 11/21/25 Sublimation for Beginners: Everything You Need to Know to Get Started Read More Mandy Ninekirk 11/21/25 Mandy Ninekirk 11/21/25 How to Start a Handmade Business from Home (Your Complete Step-by-Step Guide) Read More Mandy Ninekirk 9/8/25 Mandy Ninekirk 9/8/25 The Healing Power of Creativity: How Arts & Crafts Support ADHD and Mental Wellness Read More Mandy Ninekirk 9/5/25 Mandy Ninekirk 9/5/25 Book Bolt For Amazon KDP Read More Mandy Ninekirk 9/3/25 Mandy Ninekirk 9/3/25 The Complete Guide to Epoxy for Tumblers: Types, Uses, and What Works Best Read More Mandy Ninekirk 5/28/19 Mandy Ninekirk 5/28/19 Blog Post It all begins with an idea. Read More Mandy Ninekirk 5/28/19 Mandy Ninekirk 5/28/19 How to Use Amazon KDP: A Beginner’s Step-by-Step Tutorial It all begins with an idea. Read More Mandy Ninekirk 5/28/19 Mandy Ninekirk 5/28/19 Blog Post It all begins with an idea. Read More Mandy Ninekirk 5/28/19 Mandy Ninekirk 5/28/19 How to Use TikTok to Grow Your Small Business: A 30-Day Plan It all begins with an idea. Read More Mandy Ninekirk 5/28/19 Mandy Ninekirk 5/28/19 Blog Post It all begins with an idea. Read More Mandy Ninekirk 5/28/19 Mandy Ninekirk 5/28/19 How to Use Pinterest to Grow Your Small Business It all begins with an idea. Read More Mandy Ninekirk 5/28/19 Mandy Ninekirk 5/28/19 Blog Post It all begins with an idea. Read More Mandy Ninekirk 5/28/19 Mandy Ninekirk 5/28/19 How to Set Up Your Squarespace Website: A Step-by-Step Guide It all begins with an idea. Read More
Mandy Ninekirk 11/21/25 Mandy Ninekirk 11/21/25 Sublimation for Beginners: Everything You Need to Know to Get Started Read More
Mandy Ninekirk 11/21/25 Mandy Ninekirk 11/21/25 How to Start a Handmade Business from Home (Your Complete Step-by-Step Guide) Read More
Mandy Ninekirk 9/8/25 Mandy Ninekirk 9/8/25 The Healing Power of Creativity: How Arts & Crafts Support ADHD and Mental Wellness Read More
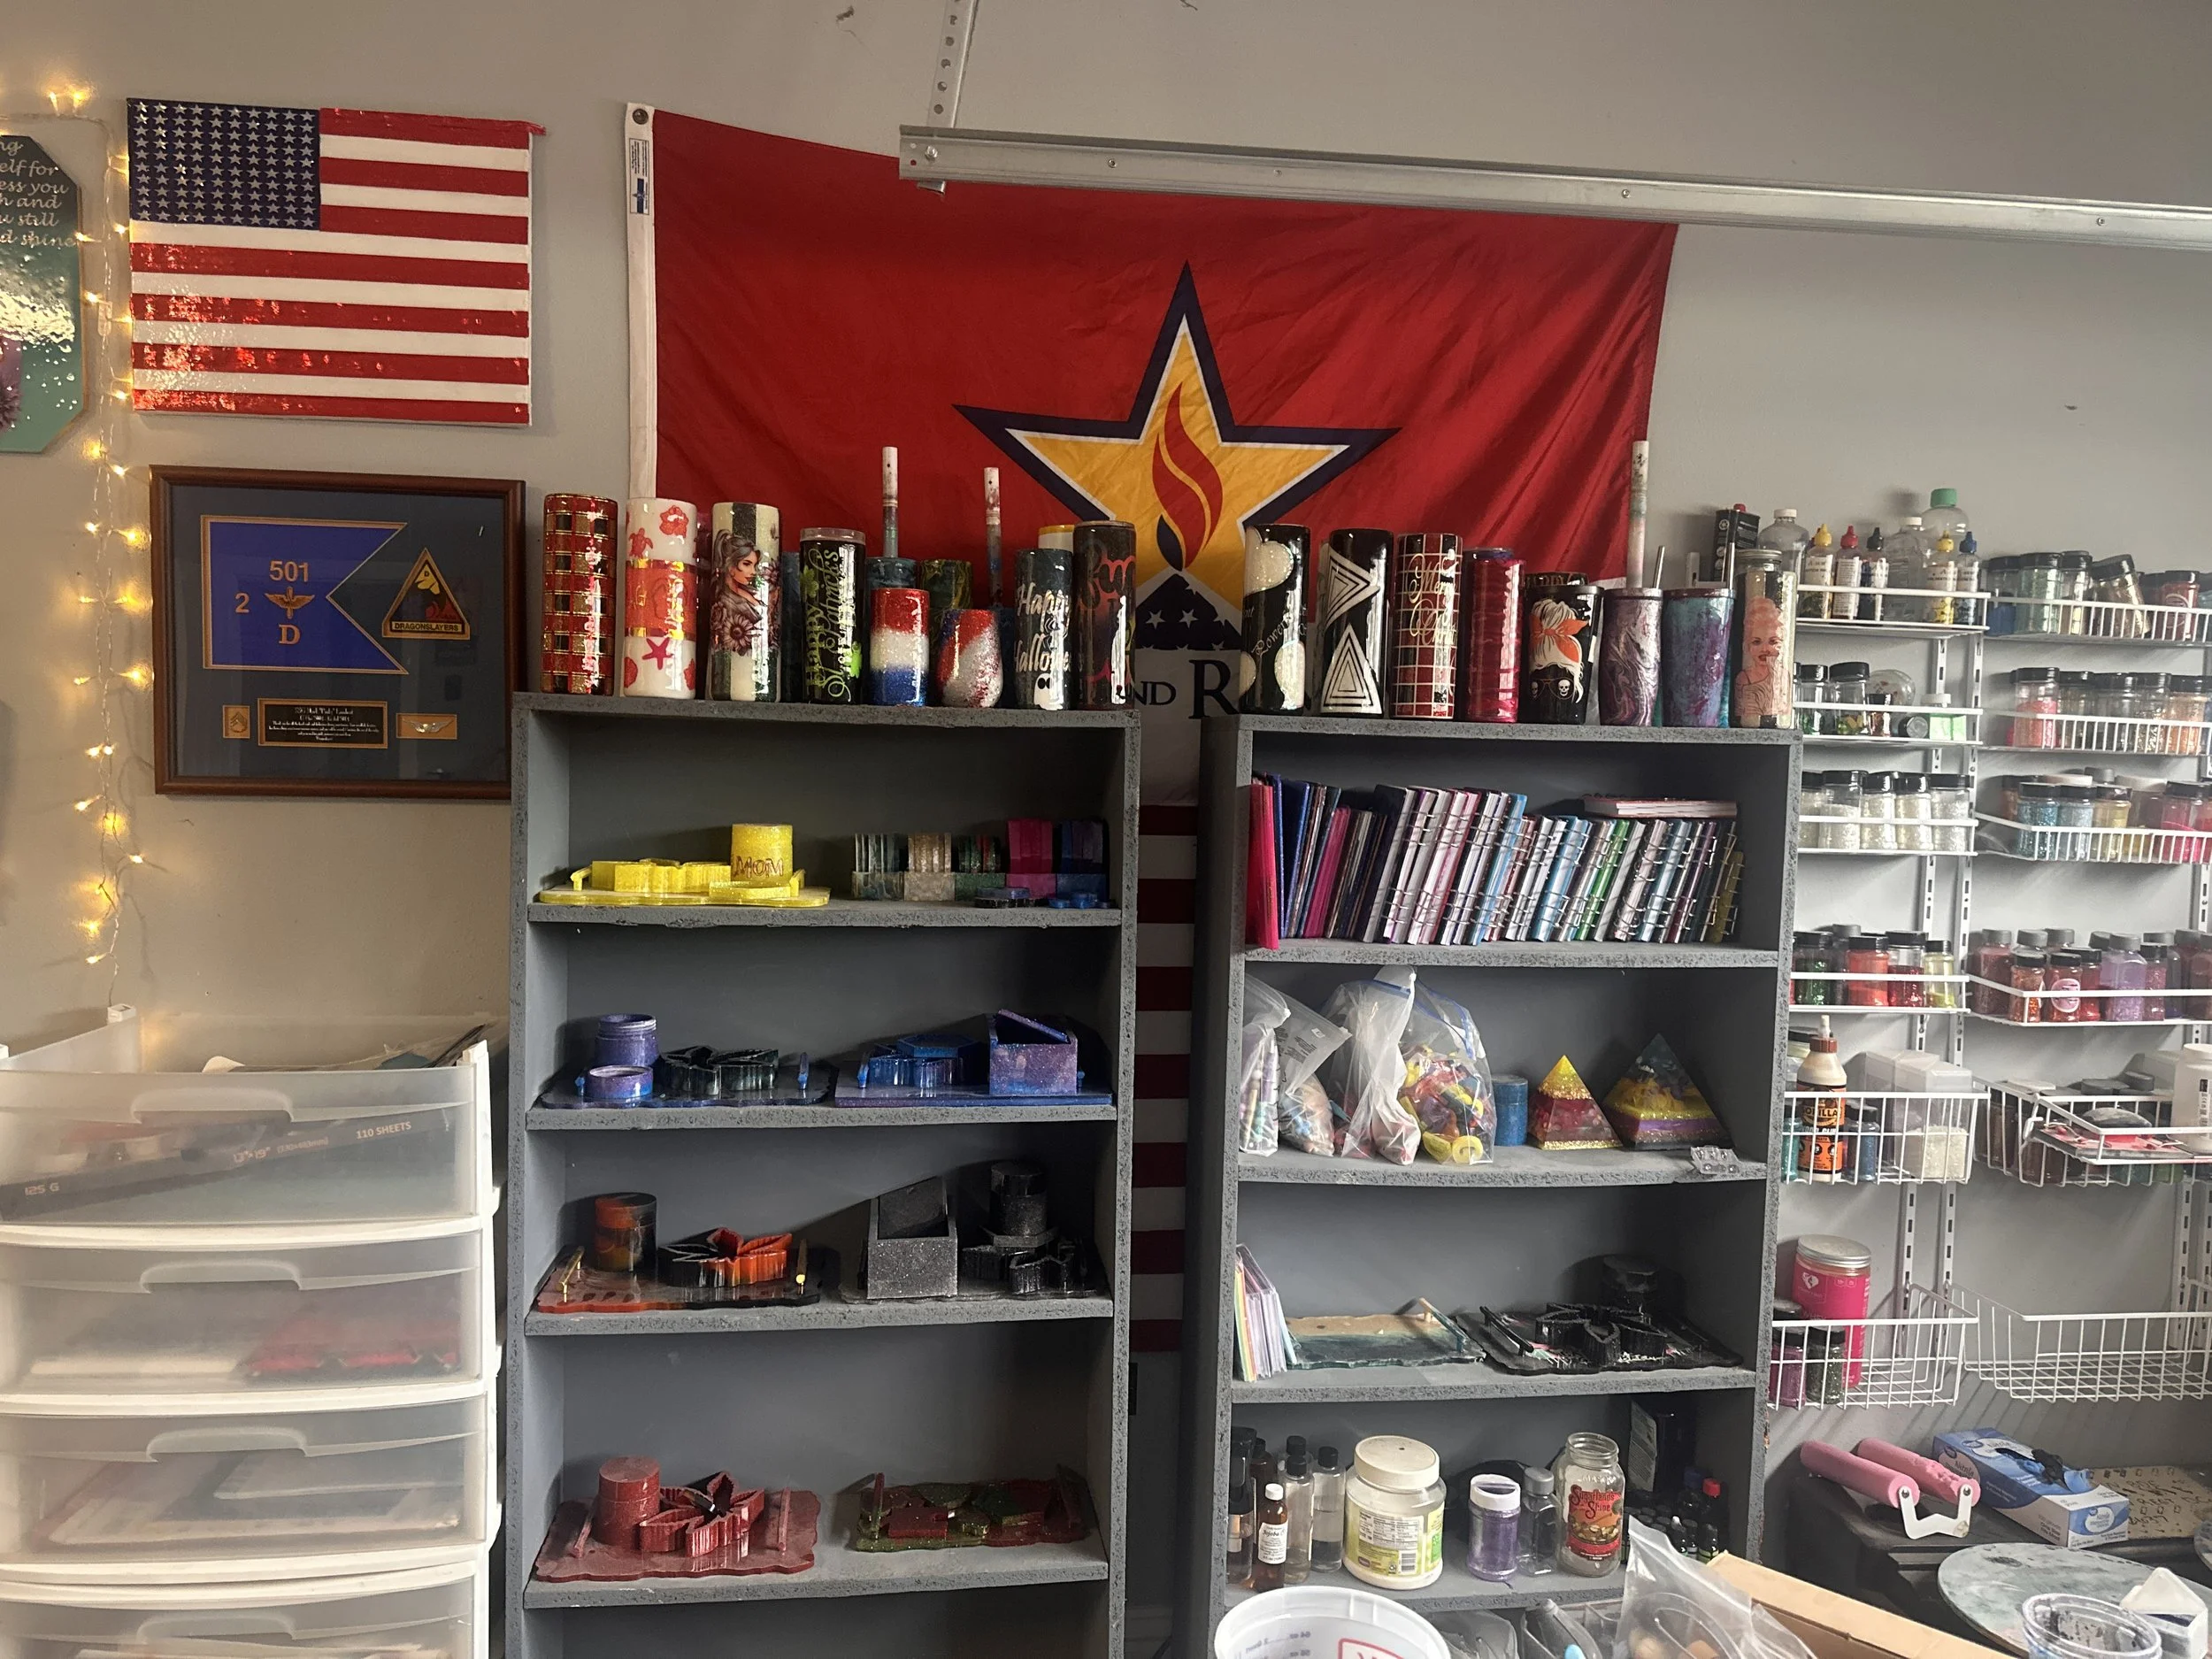
Mandy Ninekirk 9/3/25 Mandy Ninekirk 9/3/25 The Complete Guide to Epoxy for Tumblers: Types, Uses, and What Works Best Read More
Mandy Ninekirk 5/28/19 Mandy Ninekirk 5/28/19 How to Use Amazon KDP: A Beginner’s Step-by-Step Tutorial It all begins with an idea. Read More
Mandy Ninekirk 5/28/19 Mandy Ninekirk 5/28/19 How to Use TikTok to Grow Your Small Business: A 30-Day Plan It all begins with an idea. Read More
Mandy Ninekirk 5/28/19 Mandy Ninekirk 5/28/19 How to Use Pinterest to Grow Your Small Business It all begins with an idea. Read More
Mandy Ninekirk 5/28/19 Mandy Ninekirk 5/28/19 How to Set Up Your Squarespace Website: A Step-by-Step Guide It all begins with an idea. Read More